
How to Level When Things Aren’t Level
How to level when things aren’t level
By Gregory Frederick
You have put up a piece of art on the wall and it just does not look right, maybe it is a little crooked, tilted to one side, but what can be done about this slanted installation? Sounds like a level is needed to solve this problem. A simple bubble level is the preference for being able to fix this!
The bubble level is the installer’s secret weapon for a level installation of a piece of art. You may ask, how does one read a level? First, let us look at how levels are made and then what kinds of levels are available to use. The bubble level is also sometimes referred to as a spirit level from the use of mineral spirits in the vial tube to create the level. Additives can then be added to mineral spirits to ensure effectiveness and accuracy, such as use in cold temperatures and UV resistance, color dyes are also sometimes used to allow a more defined bubble. The small bubble vial will then be attached to the frame of the level. These can range in a variety of materials from wood, aluminum, cast iron, or composite materials. Some of the levels will also have additional bubbles as part of the tool to check additional measurements.
Occasionally you might hear the phrase “plumb and level” when working with installers. This refers to two different angles, the horizontal plane is called level and the vertical plane is called plumb. This is mostly common with things like windows and doors but can also be used to refer to free standing items like sculptures. You would not want a large marble sculpture to be leaning one way or another! So when looking at your level you will have a bubble along the length for the horizontal position and one bubble at the end for the plumb vertical plane. Some may also come with a bubble in the diagonal, and this is to find a level at 45°, often used in building construction.
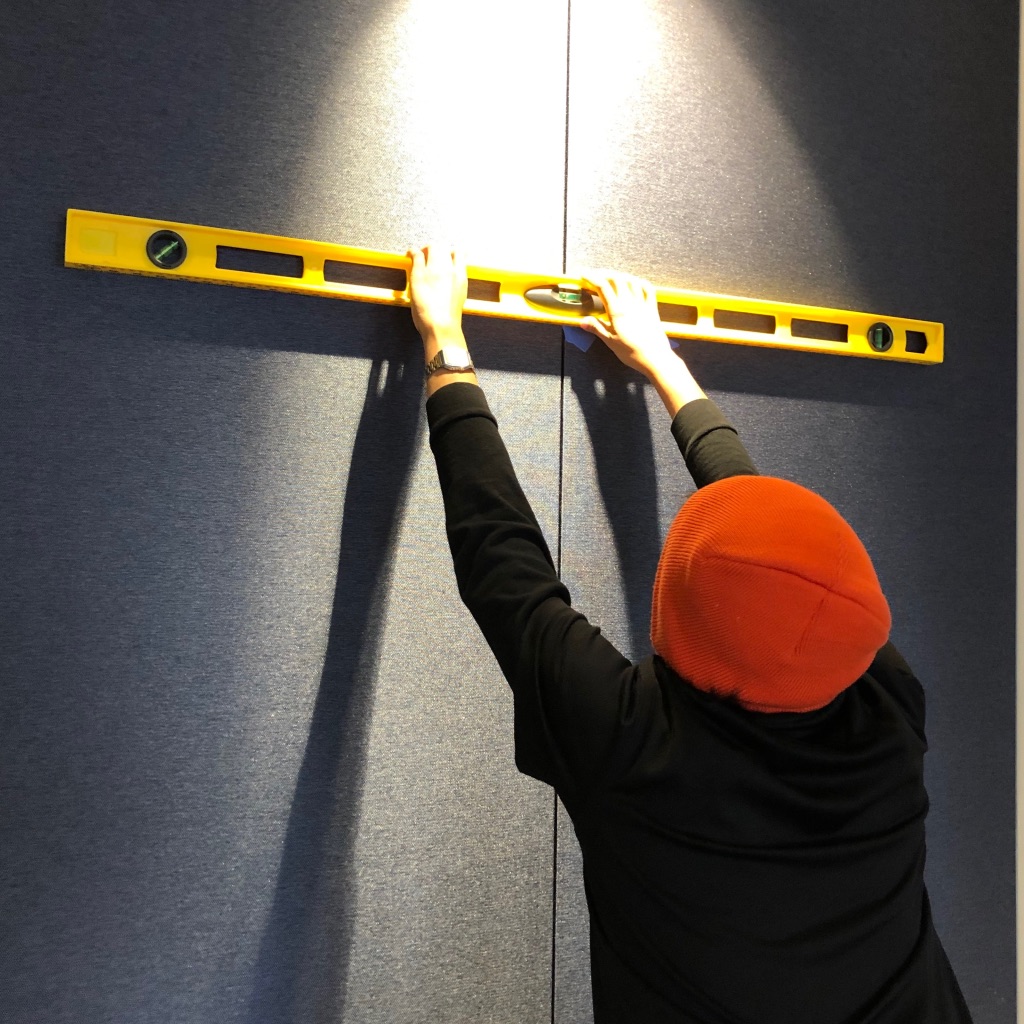
To read the level you will need to find a flat surface to place the level evenly across it, be sure that it is directly against the surface to avoid any false readings. Be sure that you have a clear view of the level bubble. Some levels may have a grab position for a sure grip on the level. Then focus on the bubble and where it sits in the vial representing the flat surface. Most often there will be two lines on either side of the tube with the bubble between the lines representing the level position, if by chance the bubble is larger than the two lines then try to center as best as possible. Depending on the length of what you are checking you will want to check it at several points to assure it is level across the total length. If the bubble is closer to one line or the other, your piece is not level and will need to be adjusted. To find plumb, move your level to rest on its edge and read the corresponding bubble.
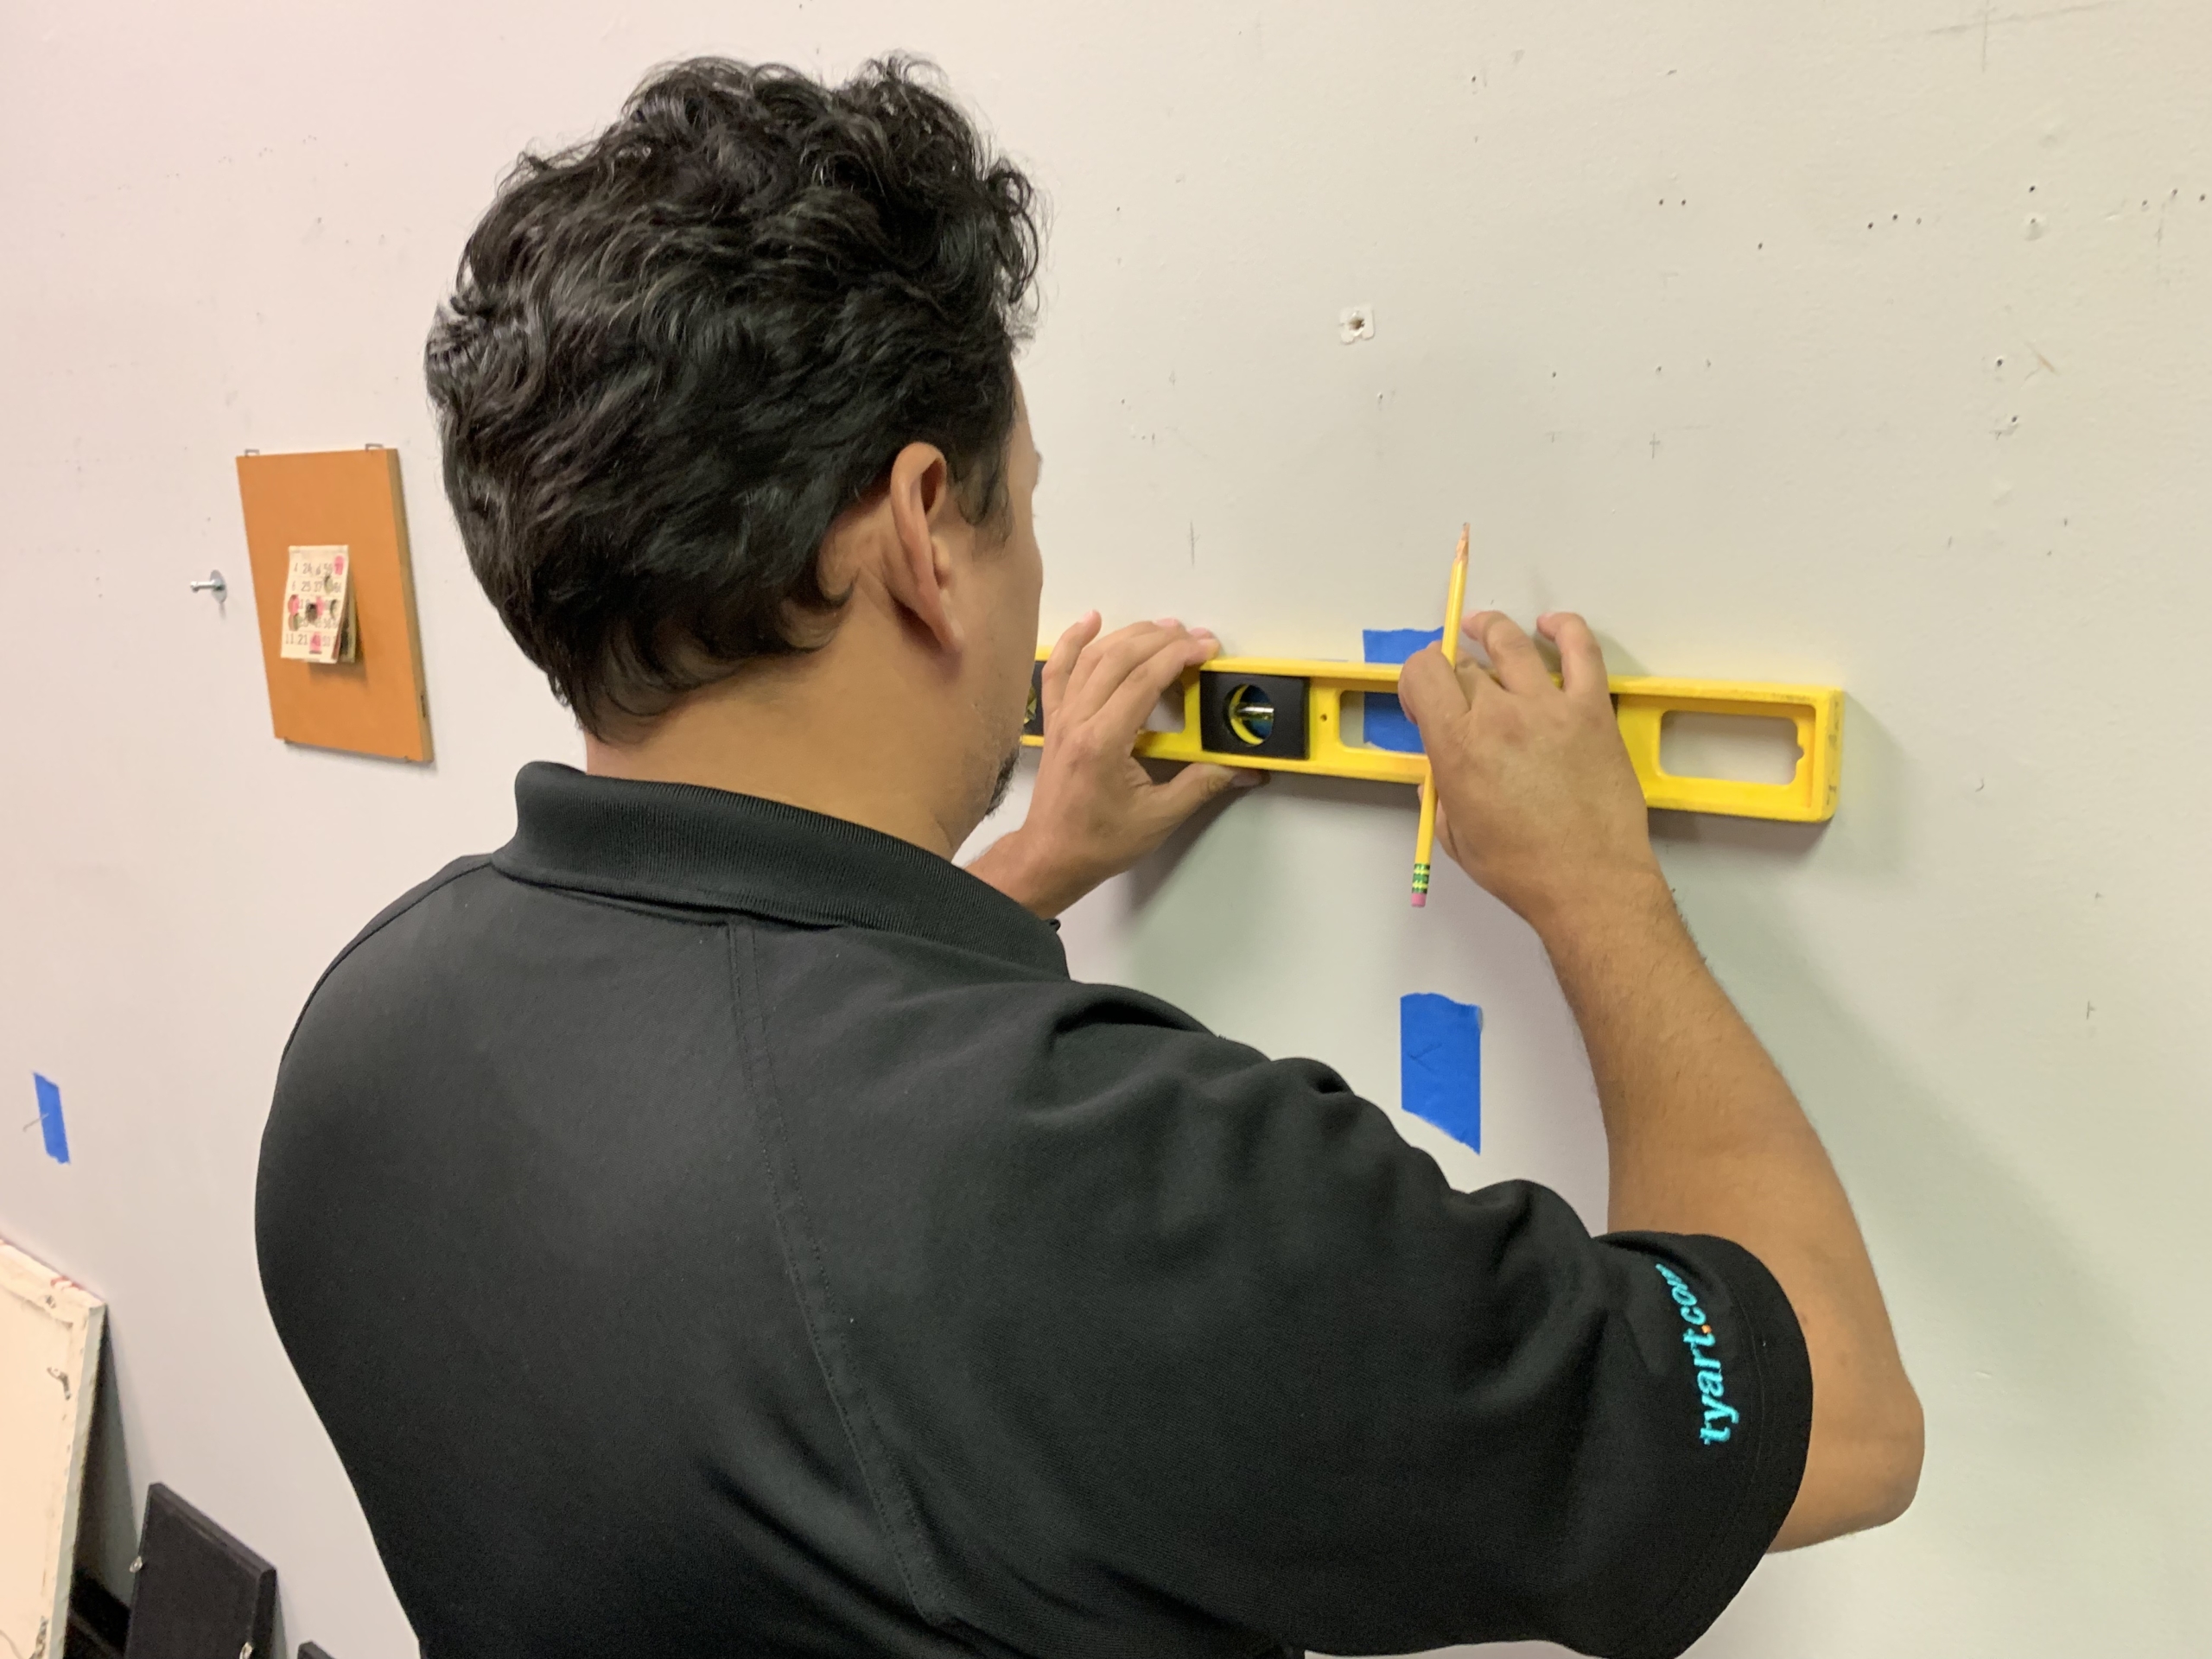
You may ask though: “How do you know if your level is actually level?” In most cases this is a simple procedure to check. First, lay down the level and check the location of the bubble in the vial, make a mark of the placement of the bubble, some blue painters tape and a pencil will be handy for this. Then flip the level over and see if the bubble is in the same spot. If the bubble has moved your level is not “level”. On more expensive models there may be adjustments that can be made to correct this, but on cheaper models it may not have that option. Do not simply assume that the device is able to give “true horizontal”, you should check any device you use for accuracy.
Is an electronic level or laser level an effective tool for hanging art? In most cases, unless you work in construction, an electronic level will not be the best choice and be considered much more than what is needed. If you are hanging a lot of works all on the same level, say across a long wall a laser level might be helpful, but they can be expensive and will need some prep time to set up ahead of hanging works. An electronic level is sometimes called an inclinometer and is most often used in doing large construction land surveys as they calculate tilts and angles as well as the vertical and horizontal plane. When it comes to hanging works on a wall, simpler is better.
What do you do if you do not own a level? Good news, pretty much all smart phones contain the ability to become a level with an app downloaded. Another option is to improvise a level using a clear water bottle partially filled with water. A similar method is using a clear glass with water and see how it lines up with the sides. Even simpler might be if you have a round object seeing how it rolls on the installed piece. Though some of these options may be unsafe for artworks and not recommended for all occasions. What about measuring up from the floor on both sides of the work? Unfortunately, most floors and floorboards are not level and will not always give a perfect measurement. Your best bet is to invest in a level, they can be purchased quite cheaply and are a great tool to have around.

